Let me be honest—confusing pricing templates or messy packages can seriously hold back your photography business. I’ve been there. When your rates aren’t clear or professionally presented, potential clients hesitate. But when your pricing is organized, transparent, and easy to digest, people trust you more and book faster. That’s why using a solid pricing template can be a game-changer.
Why I use pricing templates
Here’s what I’ve learned over time:
- Faster bookings – when clients can see everything up front, I don’t waste time going back and forth in emails.
- Clear communication – everyone gets the same info. No misunderstandings.
- Professional image – a clean layout with my branding shows I take my business seriously.
- Easy updates – instead of rewriting from scratch every time I tweak a package, I just update the template.
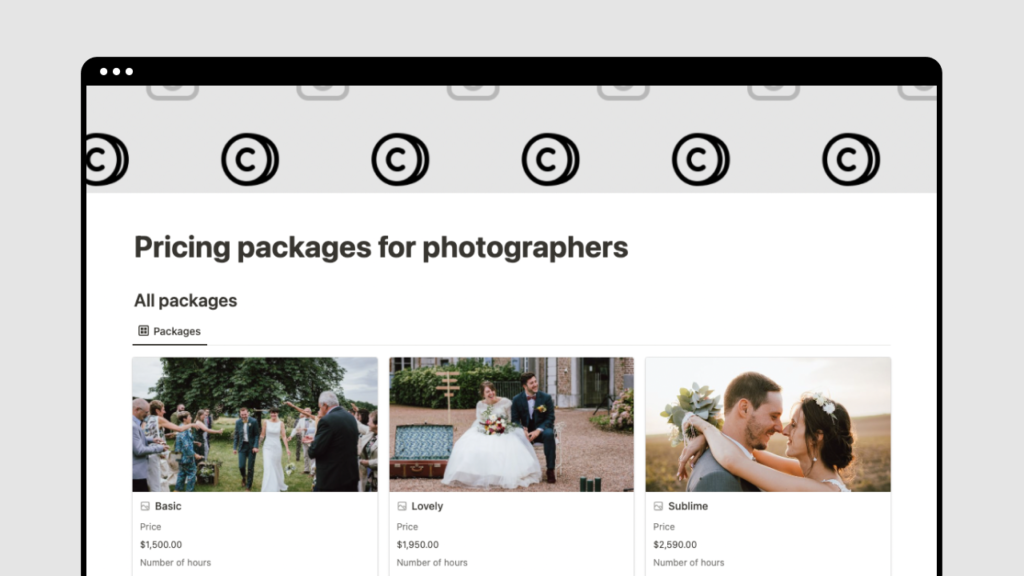
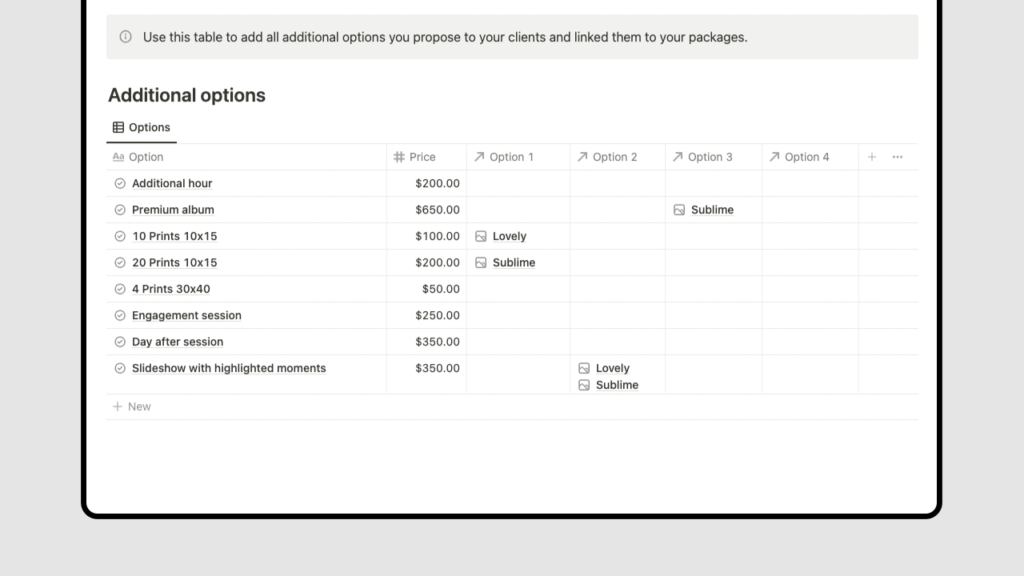
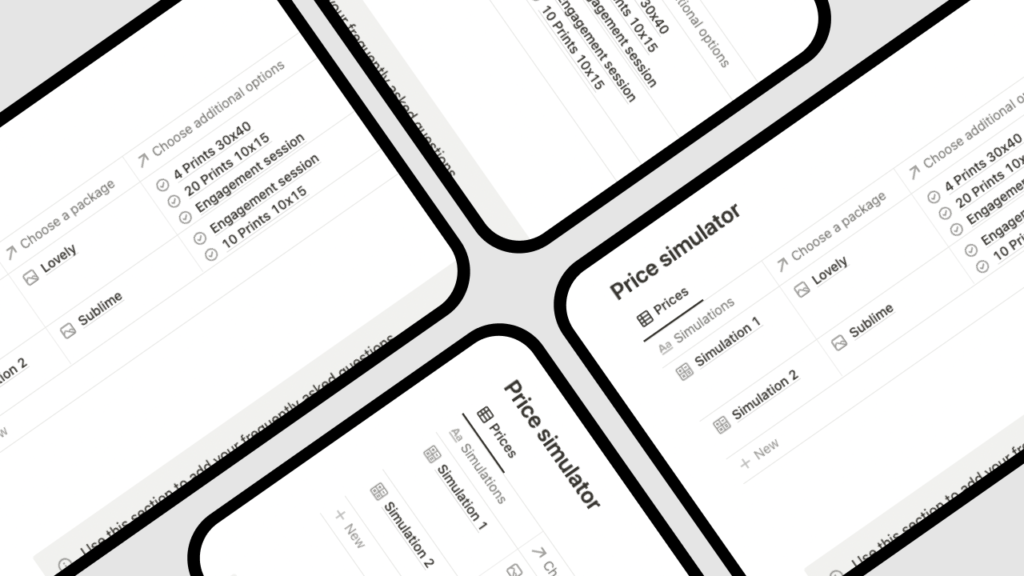
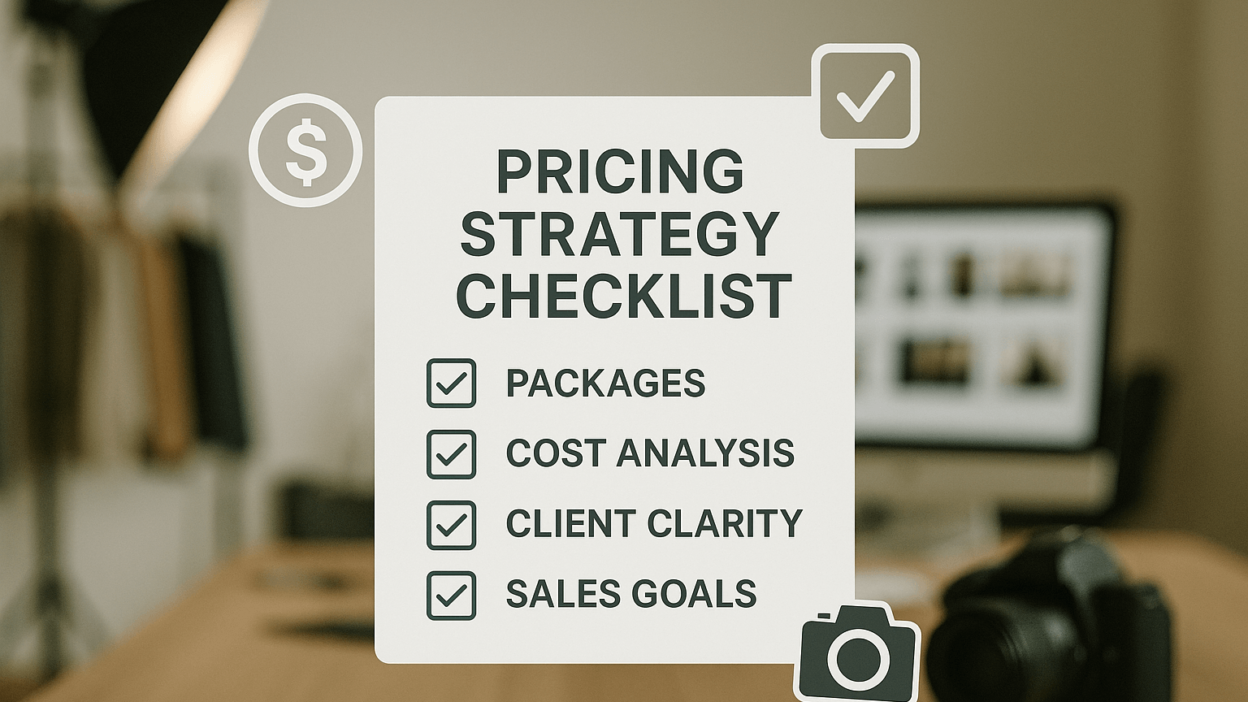
If you want to simplify things, I recommend having a look at my Notion templates, it might give you inspiration for your future pricing template. Below is the checklist I personally use to build and update pricing templates that actually help grow my business.
The checklist: how I build a powerful pricing template
1 great pricing template isn’t just a list of numbers—it’s a tool that helps you communicate, save time, and convert inquiries into bookings. Here’s exactly how I set mine up:
- Define every service and package I offer, with clear details
- Research local pricing so I stay competitive and fair
- Download a customizable pricing template to save time
- Personalize it with my branding and packages
- Include clear policies and terms (payment, cancellation, delivery)
- Format it so it’s easy for clients to read and compare options
- Use it in proposals, invoices, and emails
- Review and update it regularly as my business evolves
Step 1: define your services and packages
Before anything else, I list exactly what I offer. This is the foundation of any pricing template.

How I organize my services:
- Weddings, portraits, family, events, products—whatever I shoot regularly
- For each, I include what’s covered. Example: a wedding package might be full-day coverage, second shooter, online gallery, and print rights
- I separate add-ons like rush edits or premium albums
Quick example:
Service: Portrait session
Includes: 1-hour shoot, 20 edited photos, online gallery
Optional add-ons: Extra images, travel fee, rush delivery
Having this spelled out avoids awkward “what’s included?” convos and helps clients choose the right package quickly.
Step 2: research local pricing and trends
I always take time to see what other photographers in my area are charging. not to copy them—but to stay fair and competitive.
How I do it:
- Check out websites of photographers with a similar style
- Review their packages and starting prices
- Look at directories or platforms like wedding blogs for regional ranges
- Talk to peers or join photography groups to get insider info
If I can’t find clear numbers, I’ll even reach out pretending to be a potential client just to get a feel for current pricing (Yep, I’ve done it).
How I apply what I learn:
- Make sure my base prices aren’t way off the mark
- Add value to justify higher prices if needed
- See which add-ons others offer and add those to my template
- Keep my policies aligned with industry norms so nothing feels “off” to clients
This step helps build trust before we even talk.
Step 3: download a customizable pricing template
Once I’ve defined my services and done my research, I find a template that saves me time and looks polished.
Where I usually look:
- My own Notion templates – I’ve built a custom pricing packages template that I use for every wedding.
- Canva – lots of visual options, especially good for creatives.
- Adobe Express – great design flexibility if you like playing with layout.
What I look for in a template:
- Room for multiple packages and add-ons
- Editable sections for terms, payment info, and contact
- Compatibility with tools I already use (Notion, Google Docs, PDF, etc.)
- Clean, easy-to-read design
Step 4: personalize it with your brand
This is where I make the template feel like me. Even if I’m using a pre-made layout, I make sure it reflects my style.
What I include:
- Logo at the top so it’s instantly recognizable
- Brand colors to match my website and other client materials
- Consistent fonts for a professional look
- A couple images from my portfolio to connect the design with my work
How I adjust the content:
- Rename packages to fit my style (e.g. “gold,” “signature collection,” etc.)
- Clearly outline hours of coverage, number of edits, delivery type, and turnaround
- Highlight cool extras I offer, like custom albums or extra locations
This kind of detail helps clients choose confidently—and often, they go for higher-value packages because they understand the value.
Step 5: include your policies and deliverables
Before sending anything to a client, I always make sure the terms are clear. It saves everyone time and avoids headaches later.

What I include:
- Payment terms – deposit amount, schedule, payment options
- Cancellation/reschedule policies – with timeframes and refund rules
- Deliverables – how many images, what formats, print rights
- Timeline – how long until they get their final gallery
- Usage rights – what clients can do with the images
A sample terms box I use for weddings:
- Deposit: 50% at booking
- Payments: bank transfer, PayPal, credit card
- Cancellation: full refund if 14+ days before, otherwise deposit is kept
- Deliverables: 500 edited images, online gallery, print release
- Delivery timeline: Bewteen 4 and 6 weeks
- Usage: personal + social media only
Those are the sections I use in my own pricing template.
Step 6: format it for real clients
Finally, I double-check everything from the client’s point of view. It’s gotta be simple, clear, and helpful.
My formatting tips:
- Use plain language – no tech terms or jargon
- List popular packages first so clients see what’s most relevant
- Show prices right next to the descriptions
- Use bullet points and headers for quick scanning
- Highlight best sellers or bundle deals to guide decisions
Double check the mobile version
I always make sure my pricing templates look good on mobile. A lot of my clients check emails on their phones, and I don’t want them struggling to zoom in or scroll sideways just to figure out what I offer. If you’re using the pricing template I build using Notion, you’re in luck—it usually adapts automatically or come in mobile-friendly formats.
Trust me, when your pricing is easy to read and navigate, it says a lot about how professional and organized you are. It’s one of those small details that makes a big difference in building trust right from the first interaction.
Step 7: integrate your pricing templates into your workflow
Once I created a solid pricing template, I realized it could do more than just sit pretty in my Google Drive. Now I use it at every step of the client journey—it speeds things up and keeps everything consistent.
Here’s how I personally use my template throughout the process:
- Initial inquiries: when someone reaches out, I reply with my pricing template attached or send a client-friendly PDF link. It saves time and filters out folks who aren’t the right fit.
- Consultations: during discovery calls or meetings, I pull up the template and walk them through their options. It keeps the convo focused and helps me remember to cover everything.
- Custom proposals: if a client wants something unique, like a mix of event and portrait work, I tweak a copy of my master template. The branding and tone stay the same, but the content feels tailored just for them.
- Invoicing and booking: once someone says yes, I copy the package details straight from the template into their invoice or contract. If you’re using tools like Studio Ninja or HoneyBook, you can even link templates to booking workflows—less manual work, fewer mistakes.
Automate and streamline with your templates
I’ve learned to make my templates do the heavy lifting:
- I created email templates that automatically include my pricing sheet
- I keep everything organized in a Notion database so I can access it from anywhere
- I make sure anyone helping with inquiries—whether it’s my partner or a studio assistant—uses the same templates, so we always sound like a cohesive team
- And whenever I update a price or tweak a package, I revise the template once, and boom—all future clients get the updated info
Choosing the right tools for the job

Honestly, I started out with Dropbox and Google Sheets. They still work, but I prefer to use my own templates I build using Notion. It saves me a lot of time and I can edit them how I want them to be exactly.
Step 8: review and update your pricing templates regularly
This part is easy to forget—but it matters a lot. I make it a habit to review my pricing templates every few months. Why? Because things change. My expenses shift, I add new services, or my booking trends point me in a different direction.
Here’s what helps me stay on top of it:
- I block out time twice a year—usually after a busy season—to review my templates
- I check out what other photographers in my area are charging or offering
- If I raise my prices, I update the template immediately so there’s no confusion later
- I cut packages that no one’s booking and shine a light on the ones clients love
- And I refresh the branding if my website or logo changes, just to keep everything looking consistent
I also revisit the fine print—things like deposit terms, cancellations, and timelines. Clear policies make life easier for both me and the client.
Bonus: where I find tools and community support
There are some incredible resources out there. Here’s what’s worked for me:
- My own templates: I use them to manage my photography business as it answers 100% to my needs.
- Canva: I use it for more visual templates when I want something that really pops
- Adobe Express: great for drag-and-drop design and polished layouts
For ongoing advice, I check in on:
- Reddit’s r/photography: real photographers sharing real advice
- Facebook groups like “Photography Business Community”: it’s where I learn what’s working for others and tweak my own approach
- TheLawTog: for contracts and business policies that actually hold up
- SLR Lounge and Format Magazine: tons of helpful reads on packaging, pricing, and scaling up
FAQ: what photographers ask most about pricing templates
Here’s what I often hear—and what I’ve figured out through trial and error:
- Do I need to show all my prices?
I’ve done both—listing everything and just starting prices. Full pricing filters leads faster, but if your services are super custom, a starting range might be better. Just pick a method and stick with it everywhere. - How can I make mine stand out?
Use your branding: your logo, colors, clean design, and one strong image from your portfolio. I keep it simple and clear. - How often should I update it?
Every 3–6 months. Or anytime my costs or demand shifts. - What if a client wants something not on the list?
That’s why I keep a master template. I duplicate it, edit for their needs, and send a tailored version fast. - Should I include terms and policies?
Yes, always. It protects both of you and keeps expectations clear. - Can I use one template for all services?
Sort of. I use a core structure but make small tweaks for weddings, branding, or events. - Best format to send it?
PDF or Notion database—no font issues, looks the same on every screen. - Is it okay to change prices per client?
Be transparent. If I quote differently, I explain why—usually based on project scope. - What if someone asks for a discount?
I decide in advance what I’m willing to offer, if anything. I lead with my full pricing so the value’s clear. - How do I share the template?
I’ve used email attachments, notion databases, private links, and client portals. Platforms that support downloads make it seamless.
Conclusion: why a great pricing template is worth it
Having a clear, well-designed pricing template isn’t just about looking professional—it’s about making your life easier. Mine helps me book faster, handle fewer questions, and leave a solid first impression.
Here’s what I’ve found it really helps with:
- Setting clear expectations
- Communicating the value of my work
- Showing I’m consistent and organized
- And cutting down on admin time
Little things—like add-ons, updated branding, and clean layouts—go a long way. If your current system feels all over the place, start with one solid pricing template. I would advice to at least try my pricing packages template and see if it works for you. Once your template is in place, it becomes the backbone of every client interaction—from inquiry to booking.


